Learn SSHOW
by watching.
Every tool and every move, shown in a short video of real use.
New here? Start here.
Try these six things, and you’ll have the basics of the editor down. Point at a video to play it.Videos play when they’re on screen.
-
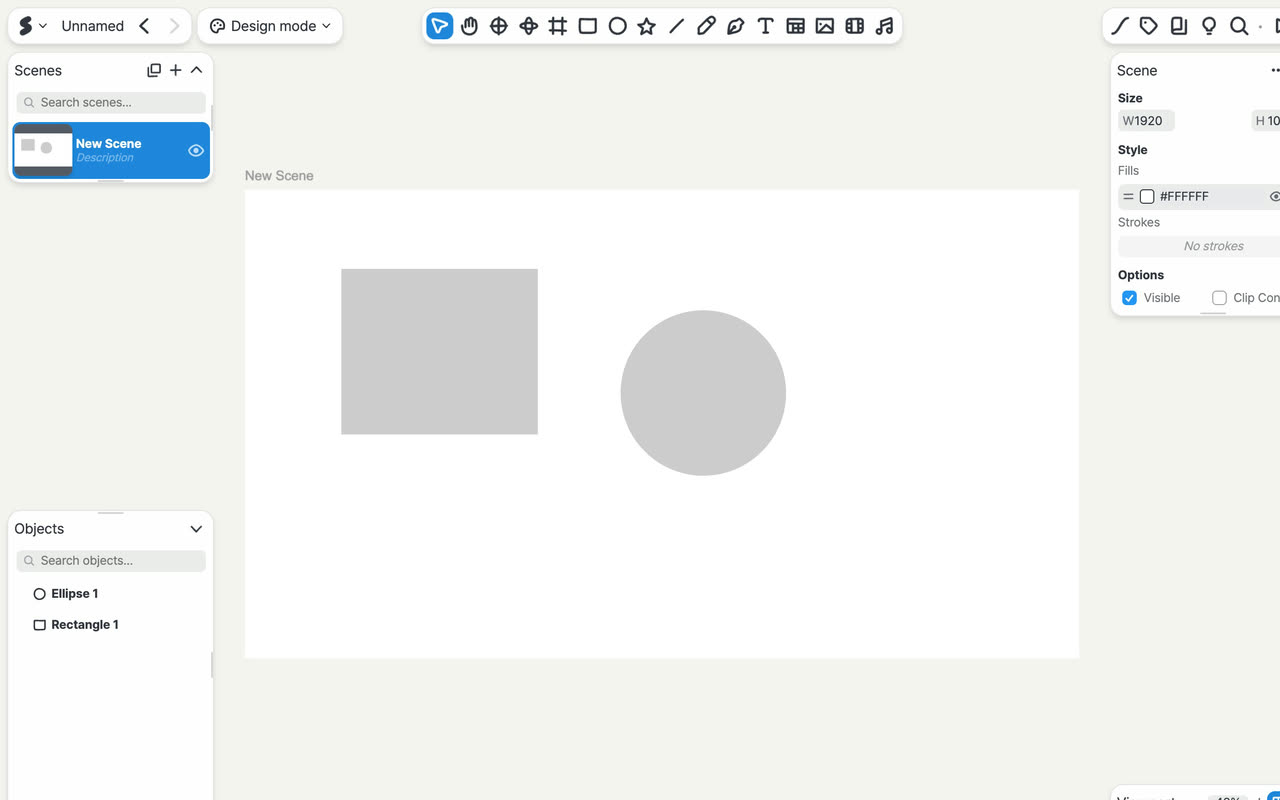
The view moves around the editor, and labels appear one by one on the toolbar, the Scenes list, the Objects list, the properties on the right, the Play, Motion, and Variables buttons, and the edit mode button. Tour the editor
Where the toolbar, the Scenes list, the Objects list, and the right panel are, and how the screen changes when you switch modes.
-
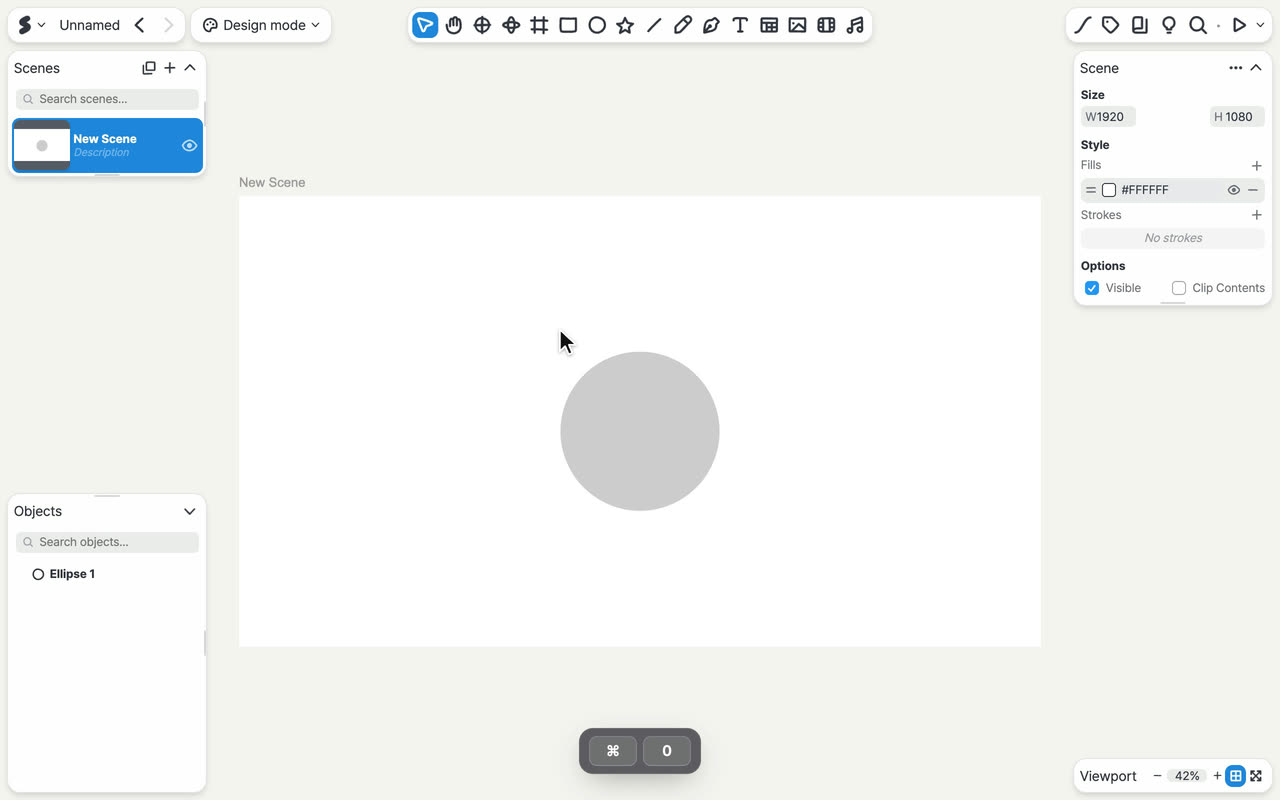
Holding Space and dragging moves the canvas, holding ⌘ and scrolling zooms in, and the view then returns to the whole scene. Move around the canvas
Move around with the Space key, hold ⌘ and scroll to zoom, and get back to the whole scene in one step.
-

Choosing the Rectangle tool in the toolbar and dragging on the scene draws a rectangle. Toolbar tools
Pick a tool with a one-letter shortcut, then drag to draw.
-
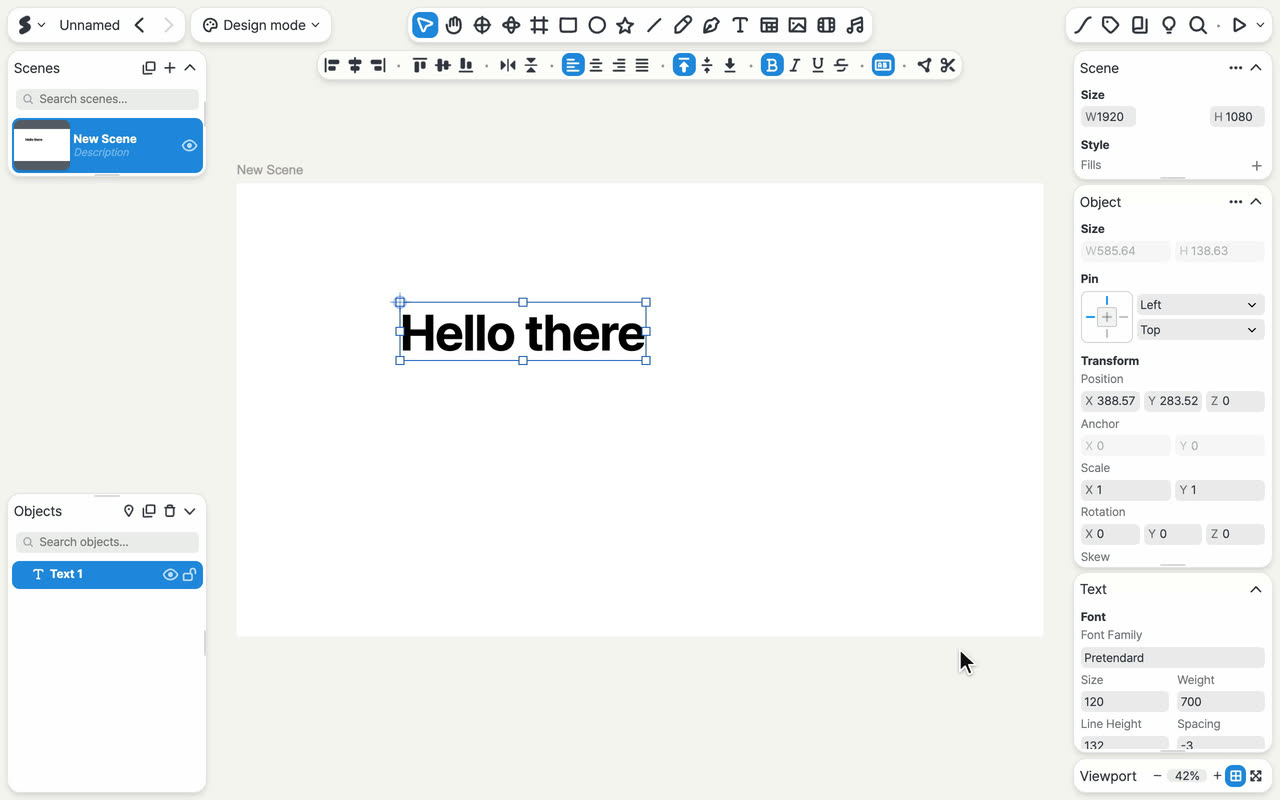
Pressing T and clicking the scene makes a text box with “Text” selected. “Hello there” is typed over it, and Esc finishes. Add text
Click to create text, and type right away.
-
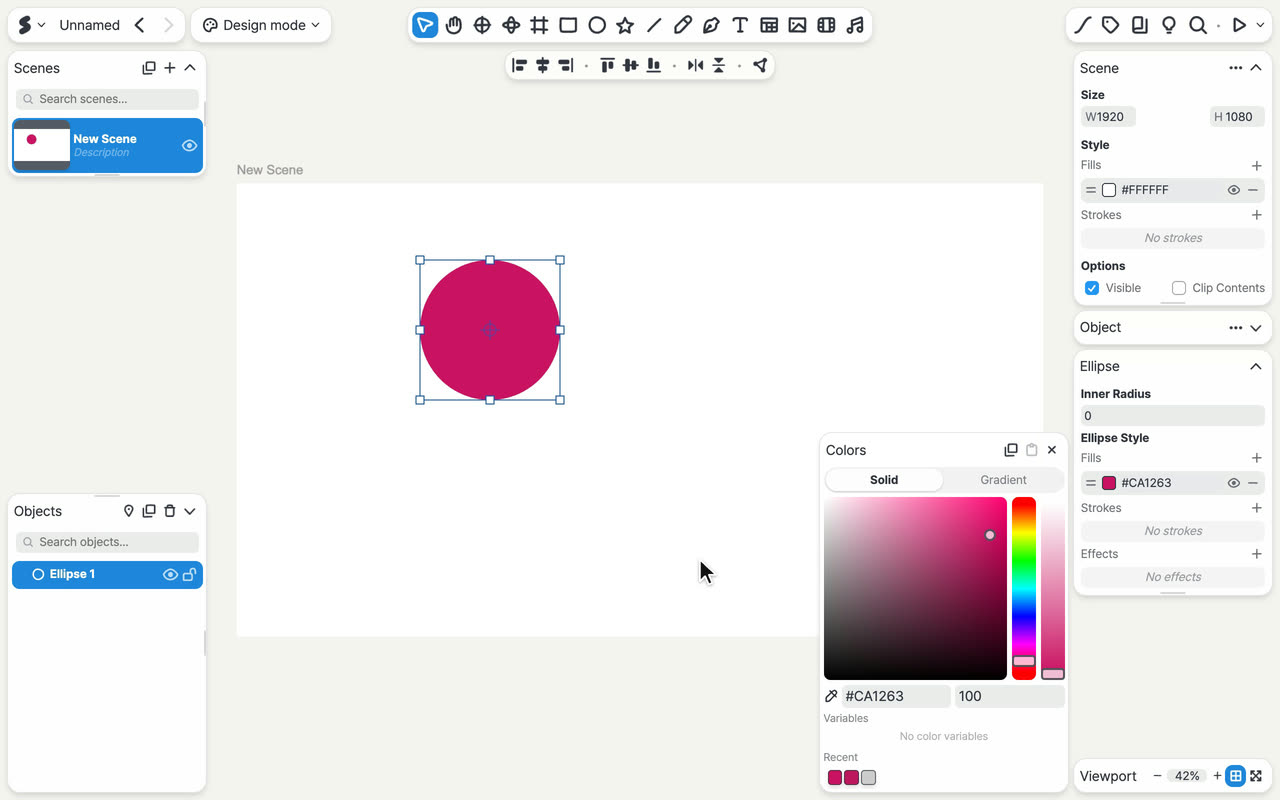
An object is selected, the fill color in the right panel is clicked, and a bright pink is picked from the hue bar and the color area. Fill, stroke, and shadow
Click the fill color in the right panel and pick a color, and it changes right away.
-
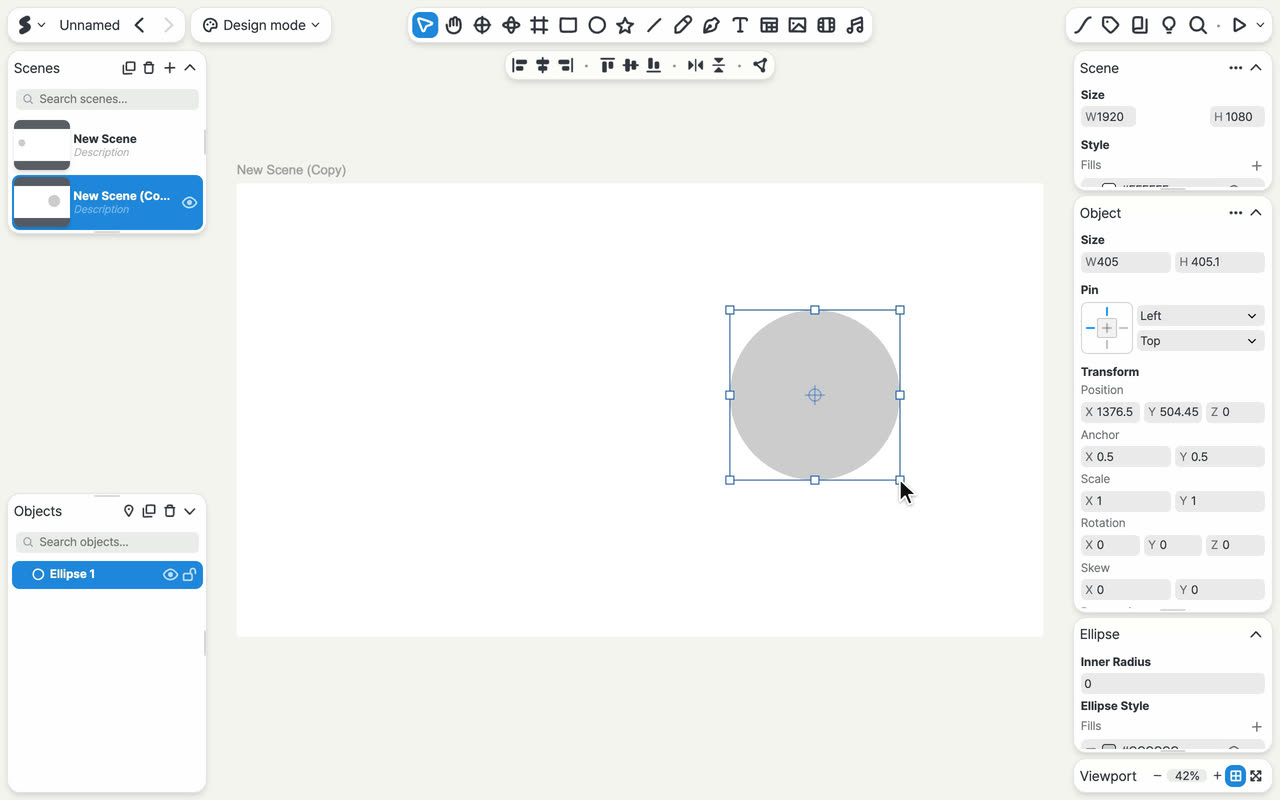
The Duplicate button in the Scenes list copies the scene. In the new scene, the circle is moved to the right and made bigger by dragging a corner. Your first transition
Duplicate a scene, move the circle, and turn on the transition. When you play it, the motion in between is filled in.
Tools sit at the top center.
It looks just like the editor’s toolbar. Click an icon to see that tool in use.
Tips that make you faster.
One tip per card, two sentences each. Flip through them.
-
Pressing C, then dragging while holding Shift, draws a perfect circle. Perfect circles and squares.
Hold ⇧ while you drag to keep the width and height equal. It works the same for rectangles and images.
-
Holding Space and dragging moves the canvas, holding ⌘ and scrolling zooms in, and the view then returns to the whole scene. Pan from any tool.
Hold Space and drag to move the canvas. Hold ⌘ and scroll to zoom in.
-
Dragging from an empty spot selects all the objects inside the box at once, and they then move together. Many at once.
Drag from an empty spot to select every object in the box. Drag the selection to move them together.
-
Pressing L and drawing a line from one object to another makes a connector. When an object moves, the line follows. Lines that follow.
Draw from one object to another with the Line tool, and the line becomes a connector. Move the objects, and the line follows.
-
In Design mode, each press of Tab switches to Animation mode and then Interaction mode, and the panel at the bottom of the screen changes with it. The third press returns to Design mode. Switch modes with Tab.
Each press of Tab switches between Design, Animation, and Interaction mode. The panel at the bottom changes with it.
-
After pressing G, dragging the outer ring rotates the object flat, and dragging the inner sphere tilts it in 3D. Tilt in space.
Press G and drag the sphere in the middle to tilt an object in 3D. The outer ring rotates it flat.
Browse by topic.
From getting started to the developer docs, sorted by what you want to do. New words are collected in the Glossary.
Tutorial Do it yourself from start to finishHow-to How to do one thingTool What’s there and how to use itConcept Why it works the way it doesList · Reference Look things up
-
Get started
Pages: 6Fifteen minutes for your first time in the editor.SSHOW at a glanceCreate your first projectTour the editorYour first piece in 5 minutesSave and undoWhen you’re stuck -
Projects
Pages: 4Find, organize, and share in Studio.Tour StudioFind projectsWork with projectsTeams and spaces -
Basics
Pages: 10 -
Design
Pages: 16 -
Animation
Pages: 11Transitions between scenes, a timeline within a scene.Two ways to make things moveYour first transitionFine-tune transitionsOne-click presetsYour first animationTimelineWork with keyframesGraph viewStops and the work areaFrame clocksMedia on the timeline -
Interaction
Pages: 8Make it respond to clicks, hovers, and key presses.How interactions workYour first interactionRecipesEdit and previewTriggers, actions, and conditionsMake buttons with frame statesRequests and variablesWarning messages -
AI and plugins
Pages: 6Make things with AI, extend the editor with plugins.AI AssistantCreate with AIConnect an AI app (MCP)What AI apps can doThe 13 pluginsFigma plugin -
Developers
Pages: 1For building your own plugins.Plugin API -
Account
Pages: 6Your account, security, storage, display, and the apps.Account and notificationsSign-in and securityStorageLanguage, theme, and densityDesktop appTablet app -
Appendix
Pages: 2Pages to look things up in.All shortcutsGlossary
When you’re stuck.
The places where first-time users really did get stuck most.
-
Why does playback skip to the next scene without any motion?
A new scene has no transition, so playback cuts straight to the next scene. Open the scene you’re leaving and, with nothing selected, click the curve-shaped button at the top right. Then click Easing and Apply. -
Why does the screen change when I press Tab?
Tab switches the edit mode. Press it again for the next mode, or press ⇧Tab to go back. -
Why does my object move when I press a number key?
With an object selected, the number keys press the align buttons at the top, in order. Press ⌘Z to undo. -
Where do I change the text color?
Select the text, then click the color under Text Style › Fills in the right panel.
What will you make first?
During the beta, SSHOW runs on the free plan only.
Term